
Who doesn’t love a quick, easy, pretty DIY house plant project? #amiright?
I had a hankering to get my hands DIY dirty today – both literally and figuratively, so I dropped by a little plant store in the NYC Flower District and picked up a little plant to sate my DIY craving.
I chose a little aloe plant, as I thought it’d be nice to have some soothing aloe hanging around this summer! har har har.
Check out the easy steps below and share pics of your favorite kokedamas! So far, I only have experience making these with succulents and ferns; though I’m very excited about the thought of DIY flowering plant and mini herb kokedama gardens next!
EASY STEPS TO MAKE A LITTLE ALOE PLANT KOKEDAMA:
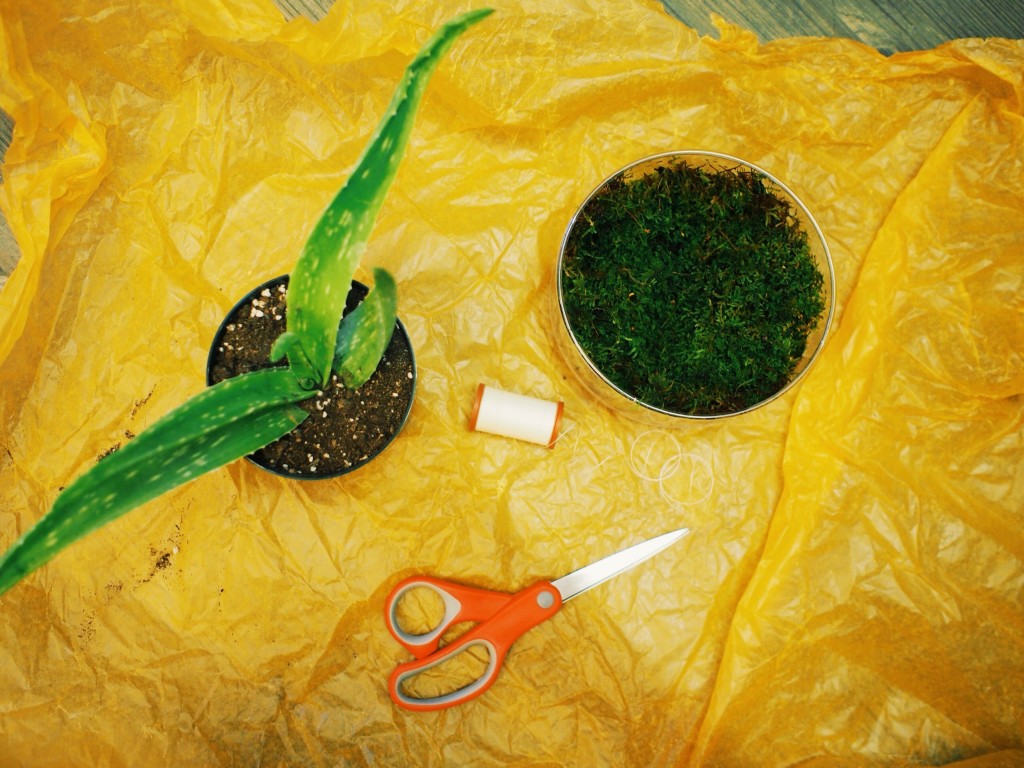
Step One: Get your gear & materials together
- Moss! (I got mine at a local store in Brooklyn, but you can order online too here a few options: one, two, three.
- A plant! For this kokedama, I decided I wanted to use a little aloe plant; since summer’s coming up and it’s always nice to have some soothing aloe around just in case!
- Some string/twine/thread & scissors! I just used some sturdy wax thread I had around.
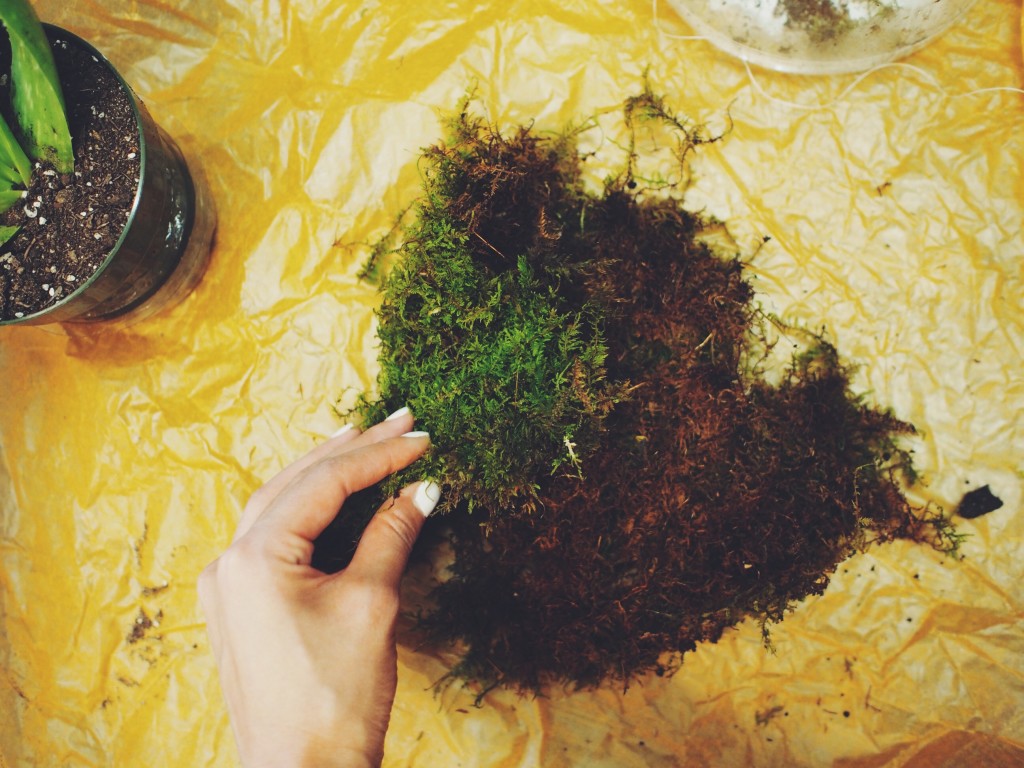
Step Two: Lay out your moss
- Make sure the roots are up and green side down.
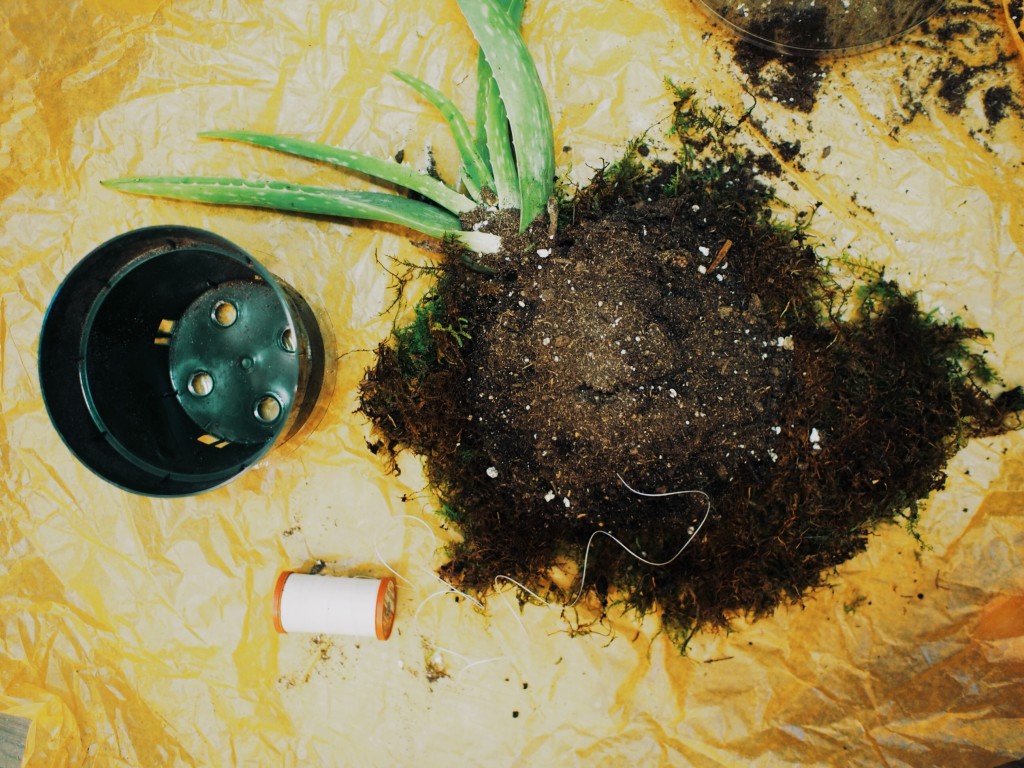
Step 3: Add your (aloe) plant
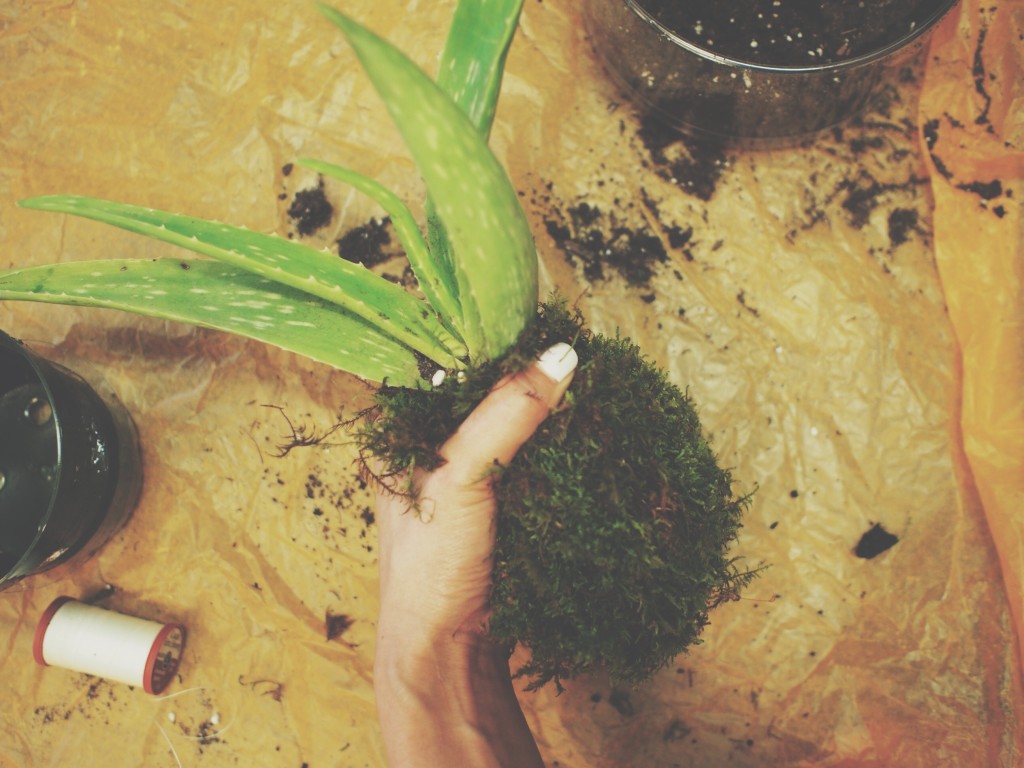
- Gently remove your (aloe) plant from its container and place it in the center of your moss sheet.
- The soil surrounding your plant may still take form of the container (if it was well watered, unlike my aloe plant) – feel free to break up the soil into a ball or looser shape, depending on what form you’d like your kokedama to take.
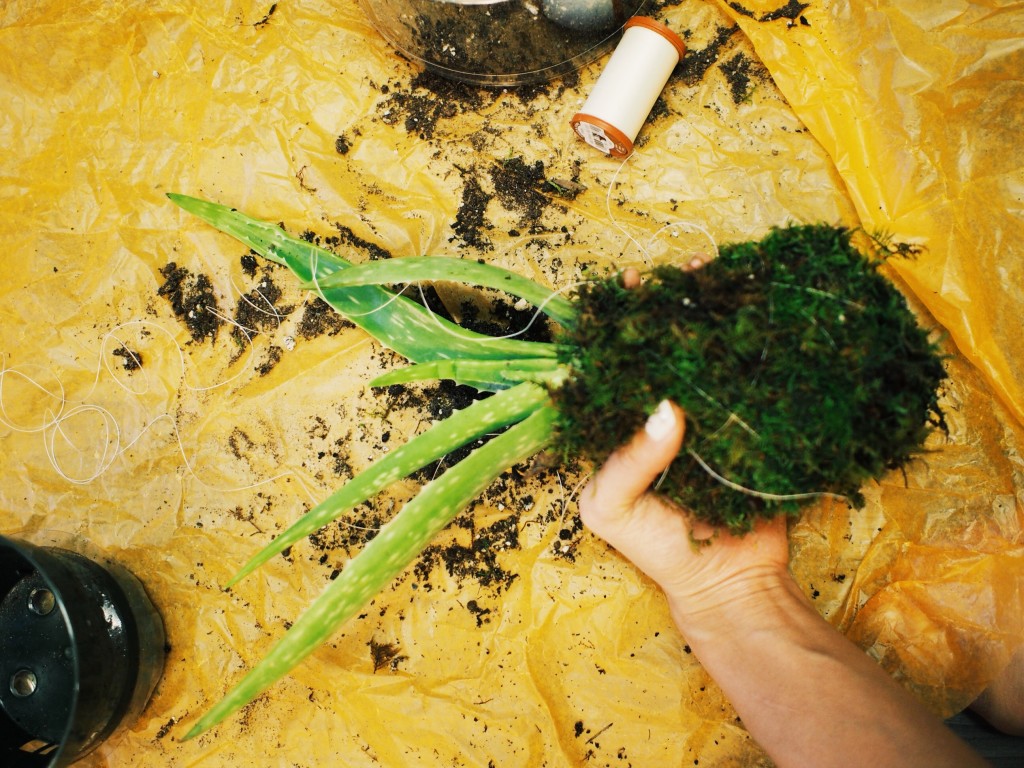
Step 4: Form the moss around the plant and soil
- Take care to make sure there aren’t any gaps in your moss for the soil to leak out when you’re watering your kokedamas!
- It’s always best to have some spare moss around to patch little holes that might appear.
- Remember, you’re just squeezing moss, soil and plant roots together, so be firm – you can’t hurt them too badly – plus you want your kokedama to be solid 🙂
Step 5: Start tying your thread/twine/string around the moss
- Wrap your string around 2-3 times and tie a knot.
- Leave some loose string (between 35 – 75 cm) like a purse strap, that will be used to hang the kokedama.
- Start wrapping the string around the moss in different directions very taught to make sure your moss, soil, and plant stay in place!
- If you decided to use a visible thread or twine, you might want to be a bit more systematic to create a pretty string pattern around your kokedama (*For my first one, I used fishing line, which was relatively inconspicuous so I could make sure my plants were taught without worrying too much about the look).
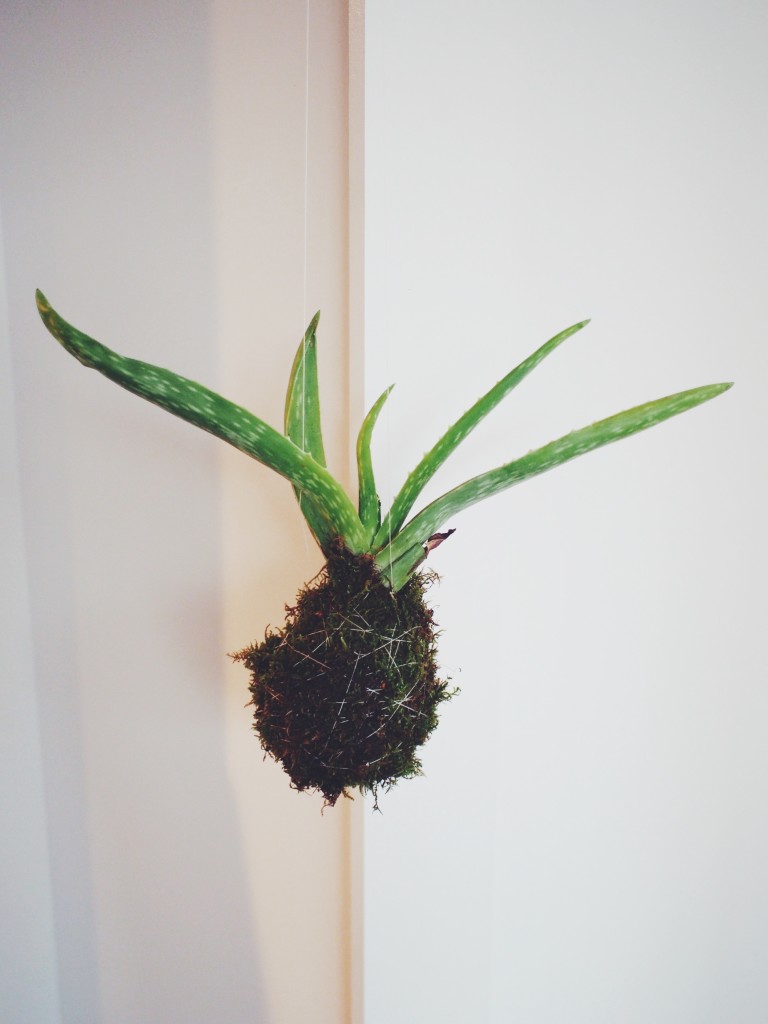
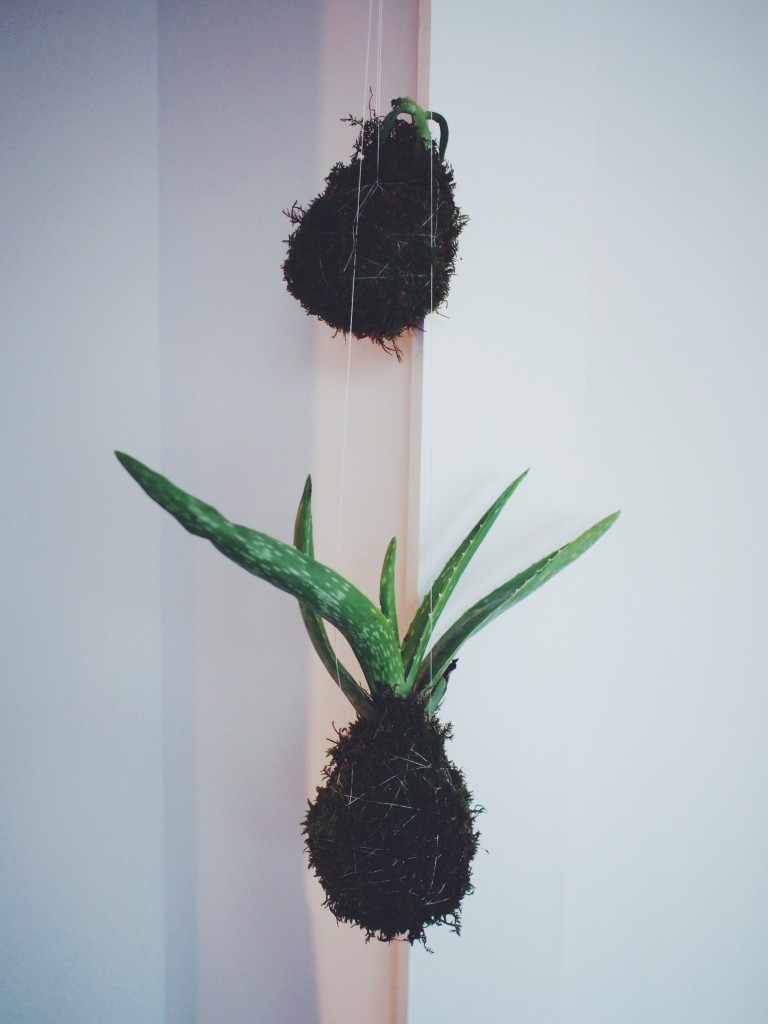
Step 6: Hang up your kokedama and enjoy!
Doesn’t this little guy resemble a wee pineapple?!
xx,
Huckleberry Kim